Making video content is essential for modern businesses and even for creative individuals. Nowadays, videos are everywhere, and they have become more like an advertising and information standard for most industries. The HD and 4K resolution can be captured on decent price devices, and professional video software is not as expensive as it used to be.
However, that is not all, and if you really want to capture professional and eye-catching videos. You are probably recommended to get artificial lights, tripods, gimbal, light filters, a few lenses, extra batteries, quick SD cards, and on and on.
Money spent on these additional photo accessories can be astronomical, and lists are often very long, which is frustrating for newbies who just want to jump into photography. That is why we made an inventory of affordable gear, which will immediately increase the quality of your videos.
Table of Contents:
- Tripod
- Led Light & Softbox
- Lens Cleaner
- Camera Filters
- Placing & Creativity

Tripod
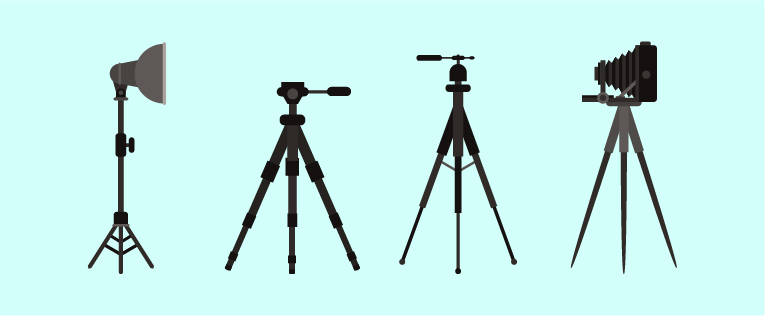
Were you not born with steady hands? Do not worry. We all have some jiggle in them. Tripod is taking place when you need a stable video. It also helps when you are in a one-man group and taking videos by yourself.
There are tons and tons of Tripods on the market with diverse features for various prices. As a newbie, you should aim for a universal tripod, which can transform to at least 1,5 meters.
A good choice is also smaller tripods with formable legs that can be attached to trees, railings, or benches. On the other hand, if you are focusing mostly on the action videos, you should invest in a device with a gimbal.
List of best newbie Tripods:
| Low-cost | Olympus National Geographic Tripod |
| Golden mean | Slik U212 |
| Affordable profi | Vanguard VEO 2 |
| Flexible legs | JOBY GorillaPod |
| Gimbal | Zhiyun Crane-M2 |
A lot of great Tripods can also be found on bazaars for good prices.

Led Light & Softbox
This should come as no surprise because the light is the alpha and omega of all videos and photographs. Of course, daylight is priceless and, in many cases, the best choice. Nonetheless, it is more like roulette because you will never know if you are going to have enough light at the right angle.
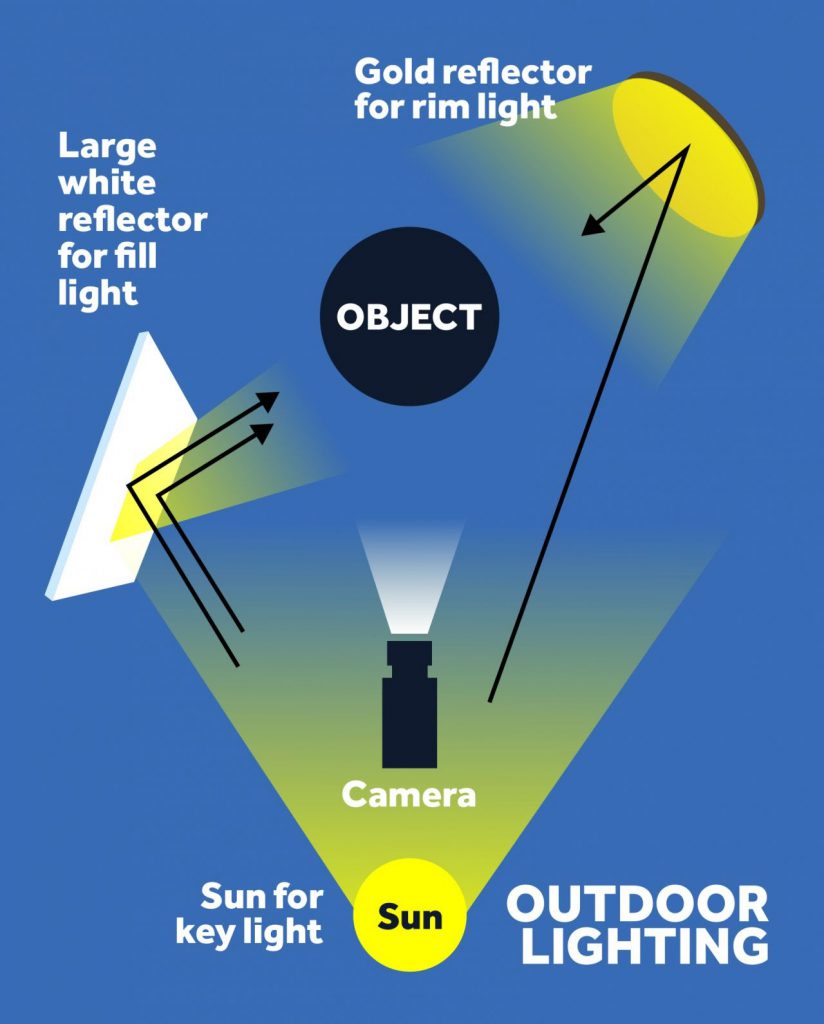
At that moment, artificial light takes place. This category can definitely drain your wallet if you are not curious enough. Let us discuss the basics first. To create the most professional-looking, you will need Key Light, Fill Light, and Rim Light (Backlight).
The setup can be made with minimal use of artificial light if you use Sun as Key light, a mirror as the Fill light, and the Led light or golden reflector as Rim light.

The best artificial set up without sun is a Softbox for the key light, additional Led light or Softbox for fill light, and one Led light for the backlight. The most affordable artificial lights in common are portable led lights. Nonetheless, be aware because these pieces usually come without batteries.
Softboxes are a bit more expensive variants of synthetic light. However, they are convenient as a key light, and you will definitely feel the difference between a softbox and a Led light lamp.
Suppose you want to save money, visit eBay and find some low-cost pieces. They will serve you well.

Lens Cleaners
Continually neglected camera routine by many creatives. There is nothing more
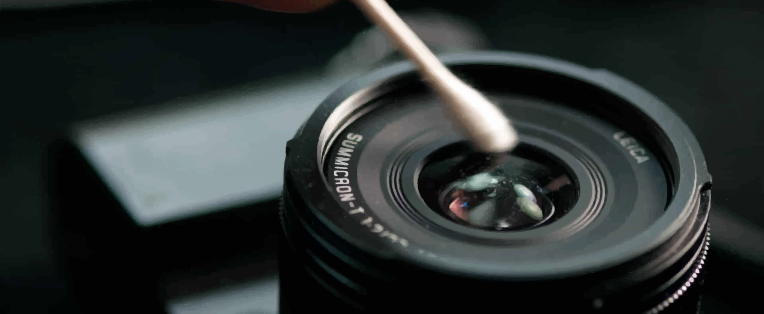
unprofessional than dust stains in your footage. To prevent it, you need to clean your lens properly.
You will find many sensor cleaning kits on the market, starting at $10. Kits are divided into one-time and permanent. Usually, one-time kits will be more effective; however, they will cost you more money. There is also an option to use items that you will commonly find in your home.
DIY lens cleaners ideas:
- Cotton Buds
- Glasses and Window cleaners
- Microfiber Cloth
- Gentle Window Cleaning Cloth
- Cosmetic Brush (unused)
- Weak Suction Device (like car vacuum cleaner)
The most crucial from our perspective is to use some cleaning water or lens solution. Rocket blower
Step by Step cleaning procedure:
- Carefully unmount your lens
- Turn camera body upside down and blow on a sensor with a rocket blower or weak suction device (If you have one-time cleaning sticks, carefully swipe the sensor -> only one time in one direction)
- Apply chosen lens cleaner on your microfiber cloth or cotton bud and wipe the top of the lens with a circular movement. Then blow it with a rocket blower or use vacuum cleaner (again upside down)
- Apply same procedure as on sensor for the bottom of the lens
- Then mount your lens back on, and you are done
Be very careful with all steps. It is better to have a dirty camera than a broken one. I also have to mention that many cameras havebuilt-in cleaning features that will shake the sensor or expose them. So, first of all, explore the camera settings.

Camera Filters
Why should you use camera filters? Because they can instantly add particular looks into your videos. They can also help you to darken and soften scenes in hard sunlight situations. That is why they can not be interchangeable with software filters in post-processing.
As with many previous categories, camera filters also have a broad price and function range. Cheapest can be bought for less than $10 and professional with density adjustment for $130.
List of best camera filters:
- PolarPro QuartzLine
- KF Concept ND filter
- NiSi ND-Vario 5 (expensive one)

Placing & Creativity
I know, I know, this one is not the belonging between the equipment and will sound like a cliché. However, keep in mind that collecting gear will not make you a better or more professional video creator. Principles like placing, lighting, negative space, etc. are more useful for shooting.
If you have an expensive camera and no skill, you probably did not make masterful footage.So, if you are a newbie in the video, just shoot everything and try to experiment. Only that will boost your footage more than any equipment.
